

Table of contents
When building your cloud infrastructure in Amazon Web Services (AWS), Identity and Access Management (IAM) serves as the bedrock of secure cloud operations. In this comprehensive guide (hands-on included!), we will not only unravel the key components of AWS IAM but also delve into the best practices that strengthen your cloud infrastructure.
1. IAM Basics: Foundations of Control
Understanding Principals:
IAM revolves around four main types of resources — users, groups, roles, and policies. Users represent individuals, groups collect users, and roles define permissions for dynamic access. The least privilege principle underscores the foundation, ensuring each entity has only the necessary permissions.
Authentication vs. Authorization:
Let's distinguish between authentication and authorization. Authentication verifies identity, while authorization dictates what actions are permissible. Striking this balance ensures a robust access control framework.
Best Practice Tip 1: Conduct regular audits to refine permissions. Removing excess privileges and deactivating dormant accounts uphold the principle of least privilege.
Best Practice Tip 2: Leverage AWS Identity Federation for seamless integration with existing corporate directories, enhancing IAM user management.
2. Policies: The Blueprint of Permissions
Policy Anatomy:
IAM policies, expressed in JSON, define permissions for users, groups, and roles.
Consider this example of an AWS managed policy granting full administrator access to a group of admins. Notice the following policy structure, including the "Effect", "Action", and "Resource". This permits the users in the admin group to take any action on any resource in the AWS account.

Policy Attachments:
The practice of attaching policies to IAM entities allows for the fine-tuning of permissions, aligning access controls with organizational needs. It is best to place users into groups and attach policies to those groups. The policies will apply to all users in the group, allowing for efficient and simple management of permissions.
Best Practice Tip 3: Use AWS managed policies for a solid security foundation. These policies are updated by AWS to align with evolving security best practices.
Best Practice Tip 4: Implement policy conditions for nuanced access control. Fine-tune permissions with conditions based on IP ranges, time of day, and other contextual factors.
3. Multi-Factor Authentication (MFA): Fortifying Access
Adding an Extra Layer of Security:
Enabling multi-factor authentication (MFA) for IAM users is a vital defense against unauthorized access.
Best Practice Tip 5: Enable MFA for all IAM users to mitigate the risk of unauthorized access.
Best Practice Tip 6: Implement IAM password policies to complement MFA, ensuring strong and secure user authentication.
4. IAM Roles: Dynamic Permissions for Resources
Introduction to Roles:
Roles offer versatility in IAM and are key to managing access to AWS services and resources. IAM roles establish permissions to communicate with AWS resources and services, and they are not connected to any specific user or group. They are assumed by AWS users in other accounts, AWS services (e.g. Amazon EC2, AWS CloudFormation), or applications.
Best Practice Tip 7: Avoid the use of long-term access keys. Cross-account roles provide temporary access to improve security.
Best Practice Tip 8: If you do use access keys, implement automated IAM access key rotation policies to mitigate the risks associated with static credentials.
5. IAM Best Practices: Navigating the Security Landscape
Least Privilege Principle:
Understand the paramount importance of the least privilege principle and limit access to only what is necessary.
Best Practice Tip 9: Monitor CloudTrail logs to detect and respond to unauthorized access swiftly.
Best Practice Tip 10: Stay informed about AWS security best practices. Regularly check AWS's guidelines to align your IAM policies with updated standards.
6. Time for Hands-On Practice:
Create an IAM user group and add a user to the group:
Prerequisite: An AWS account.
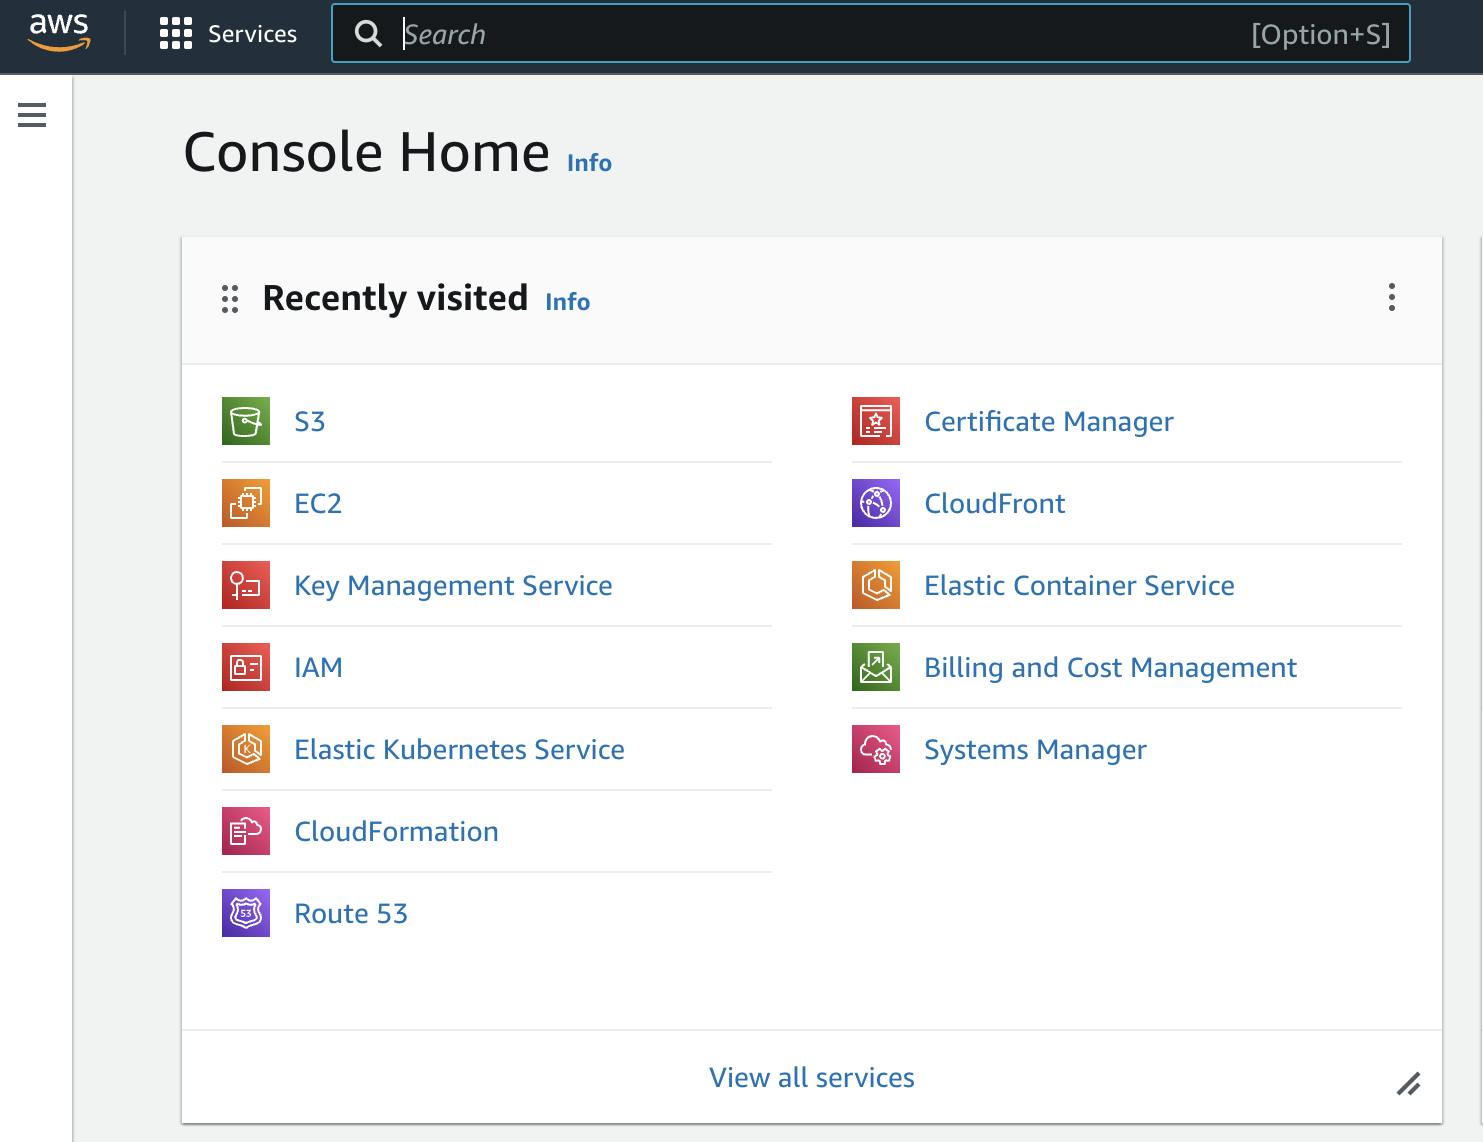
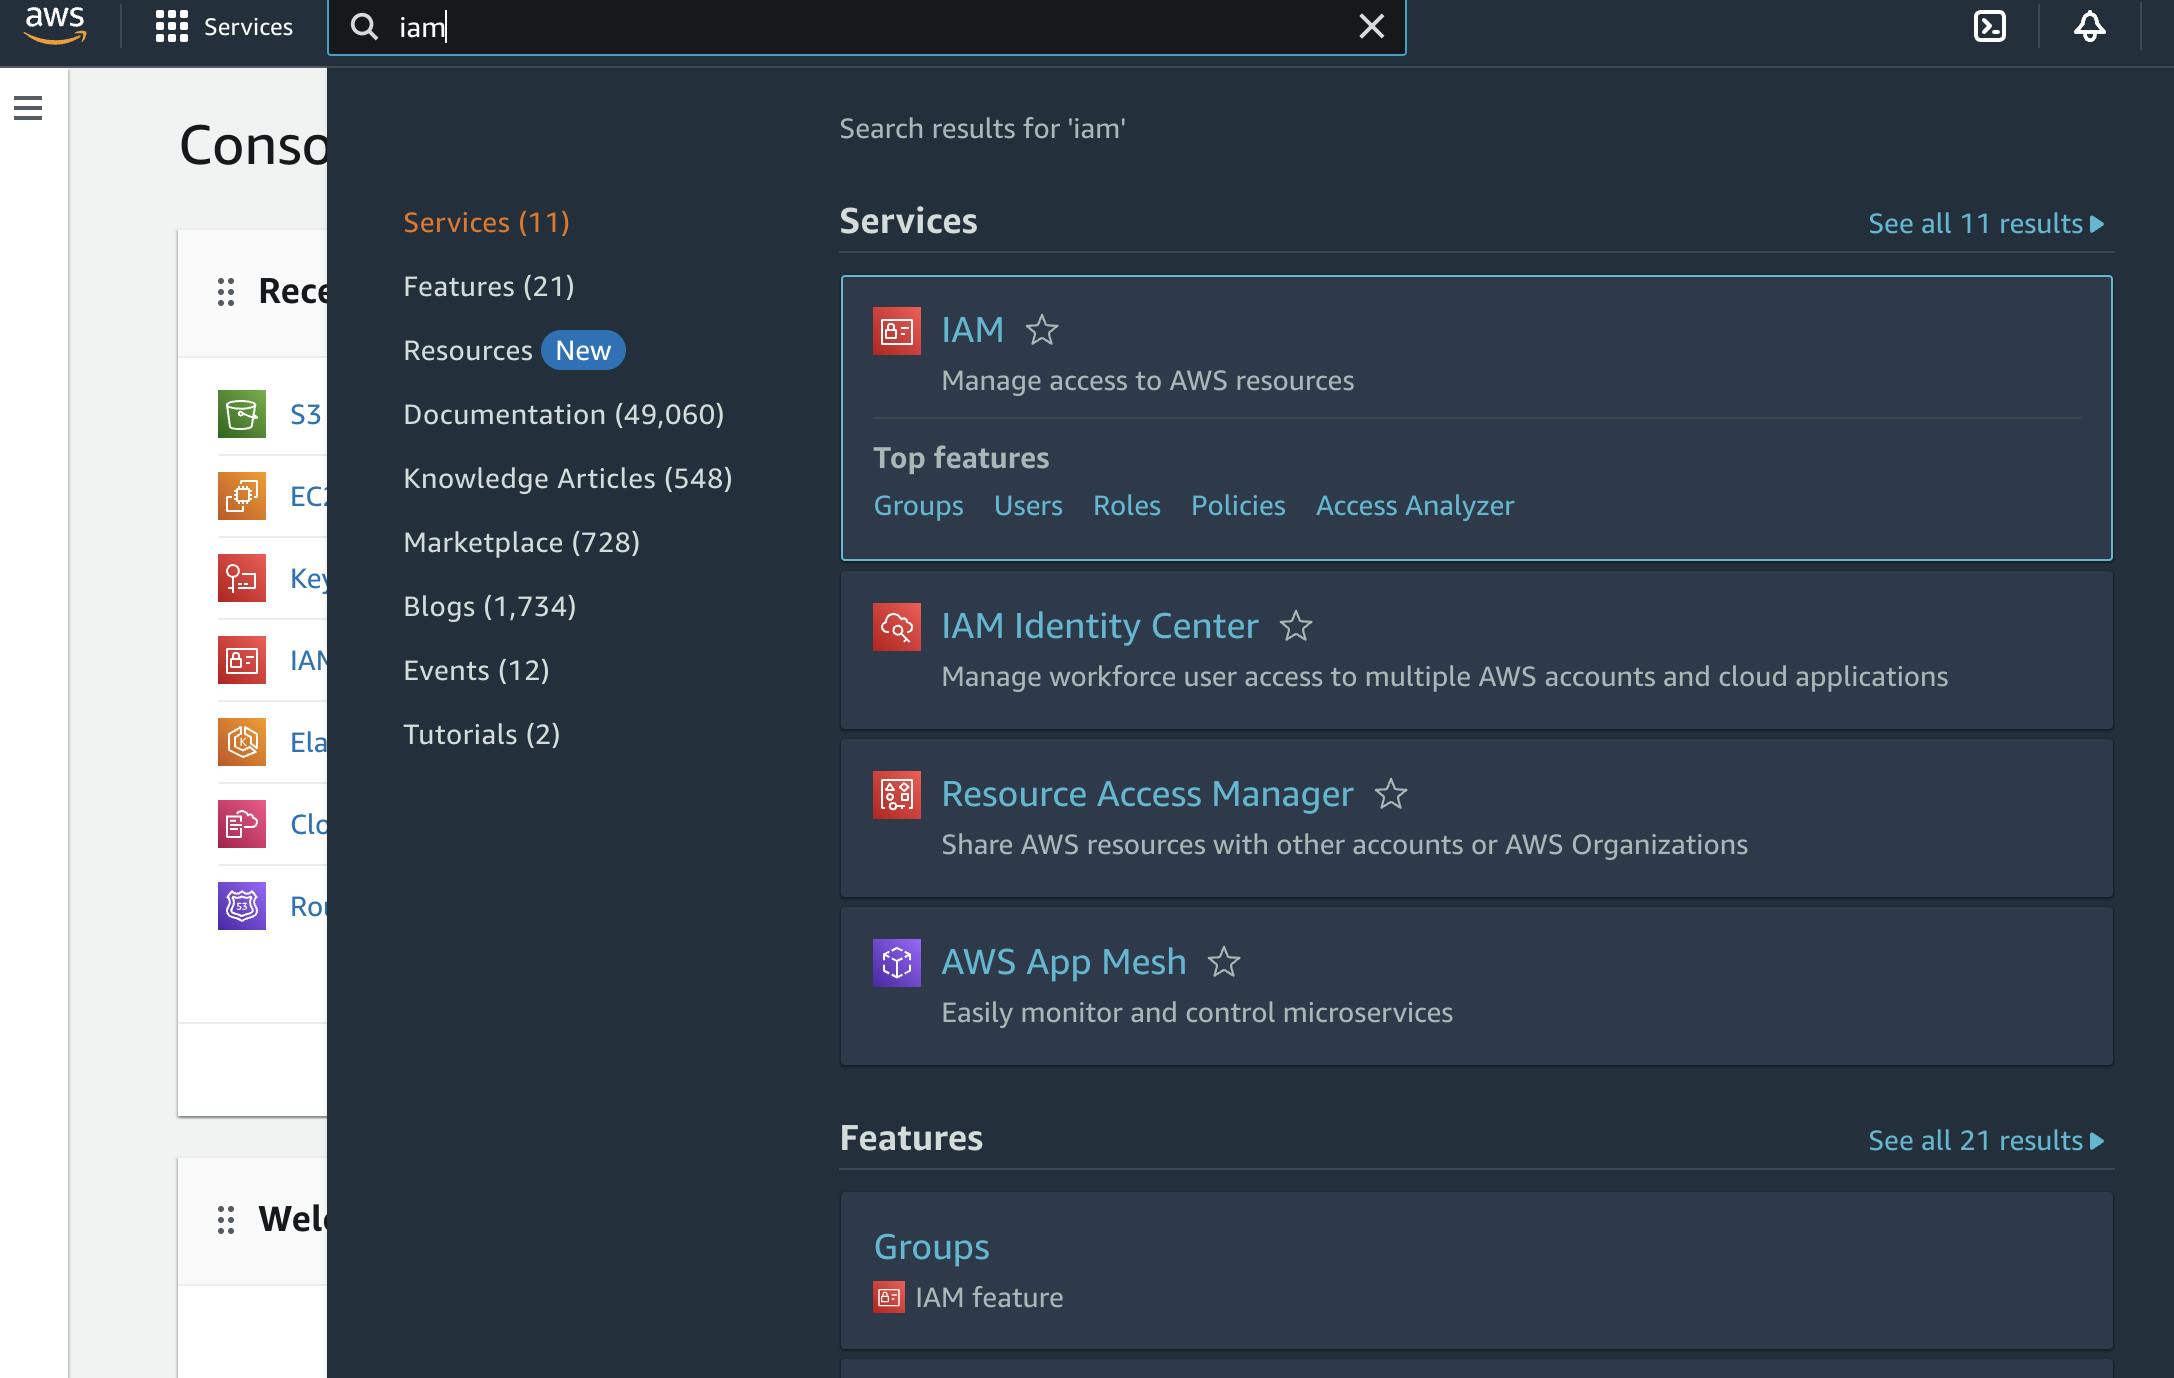
From the AWS Management Console, navigate to the IAM service using the search bar. Use the following screenshots as a guide.
From the IAM Dashboard, navigate to "User groups" under "Access Management" in the navigation bar on the left.

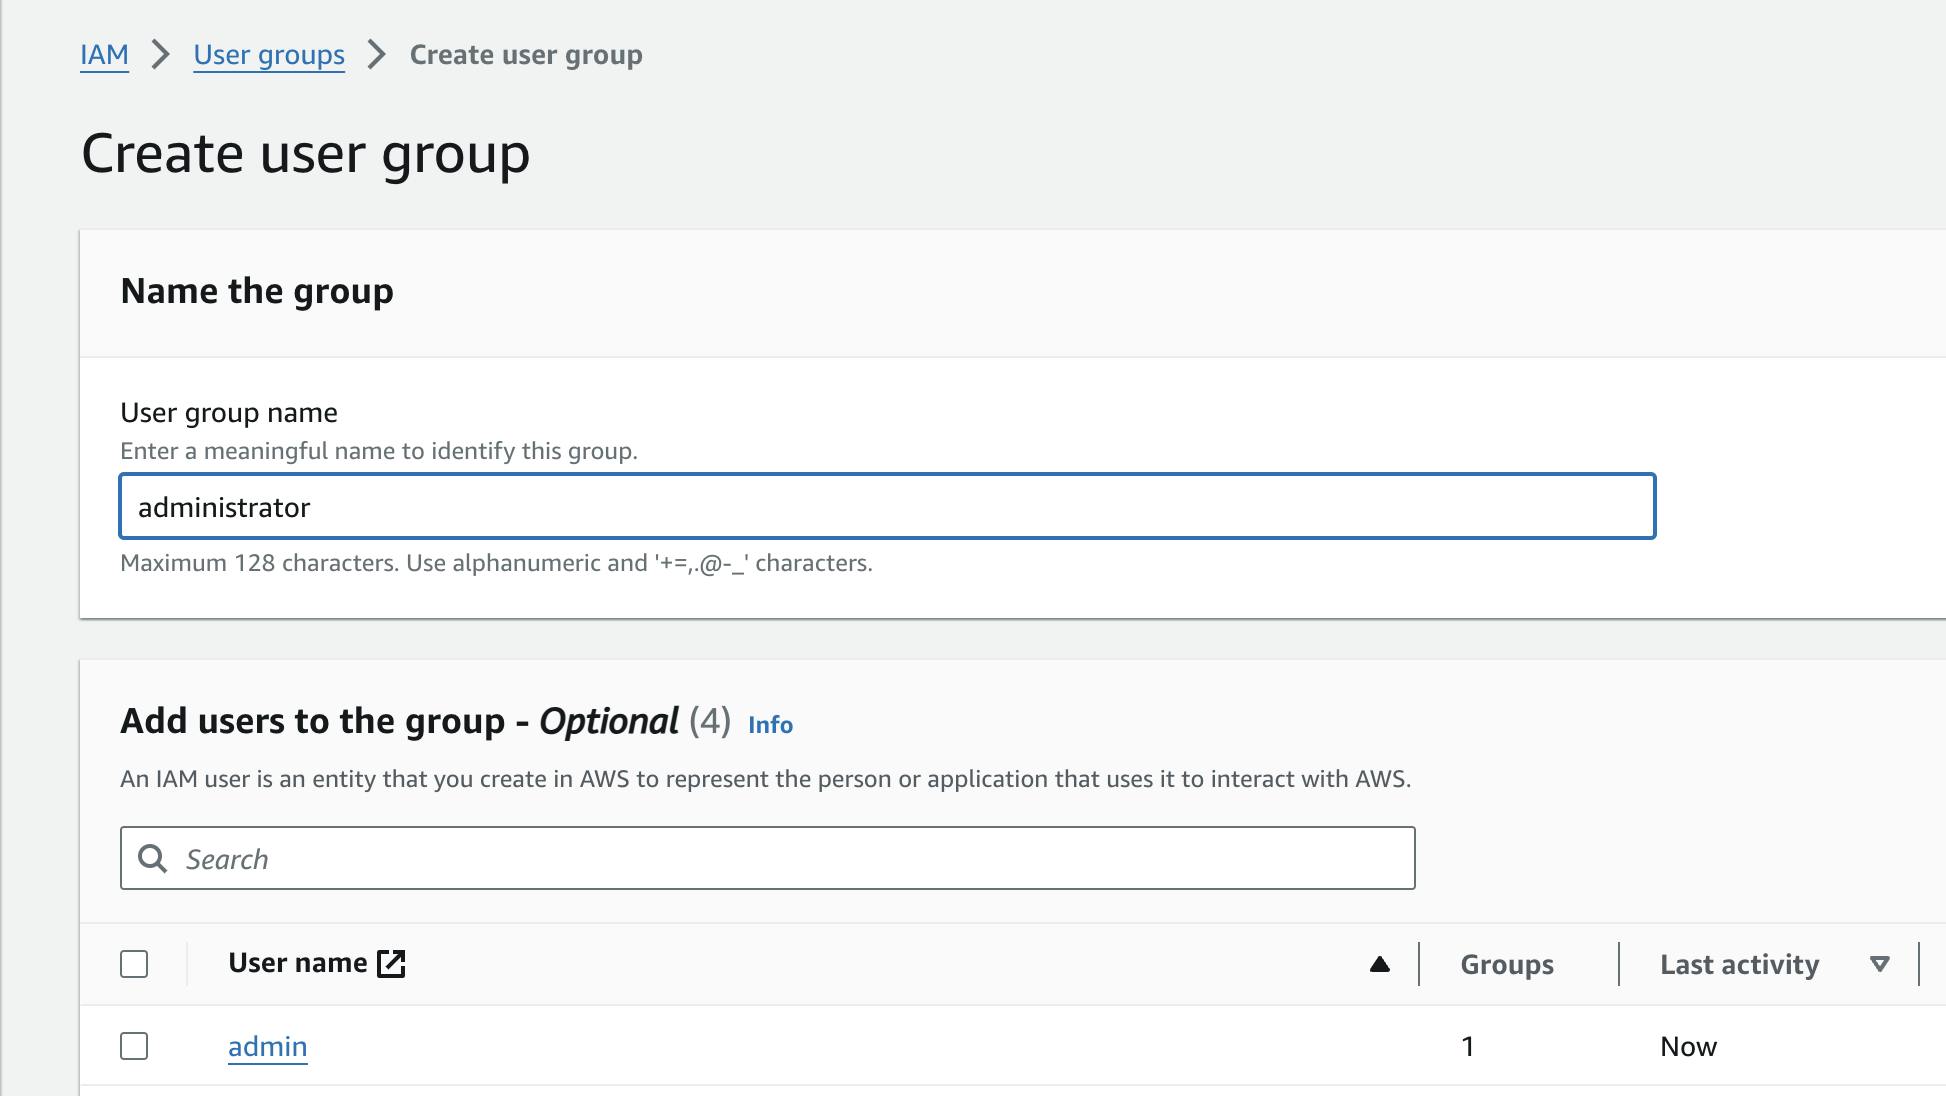
Next, click on "Create group" on the top right.

Type in the desired name of your user group, such as "administrator." Skip the "Add users to the group" section for now.
Attach the desired permissions policies to your group. For an administrator group, you can use an AWS managed policy to provide full administrator access.

Click on "Create group" on the bottom right. Congrats! Your user group is ready.

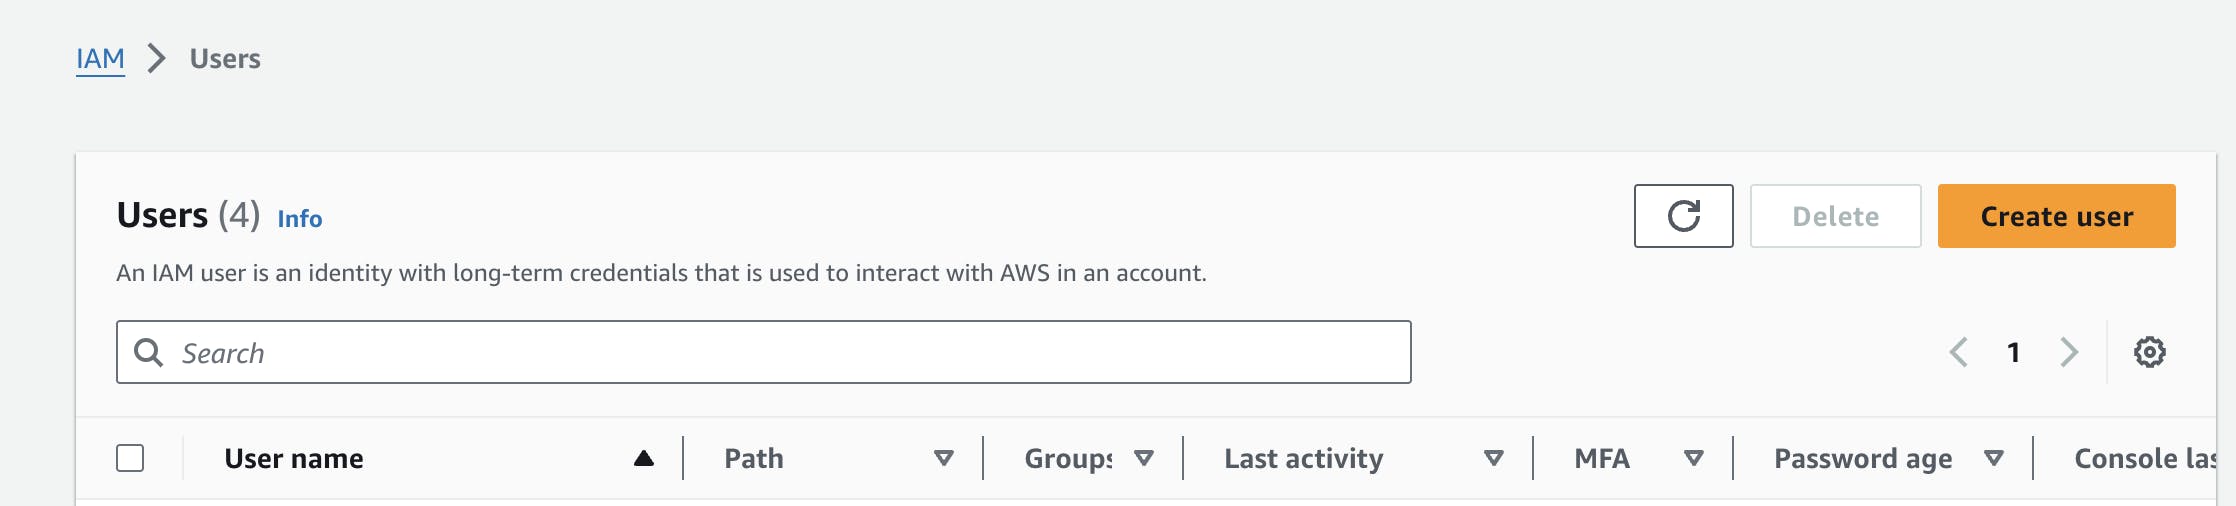
Now, let's create a user to add to the group. Head to "Users" under "Access Management" in the navigation bar on the left. Click on "Create user."
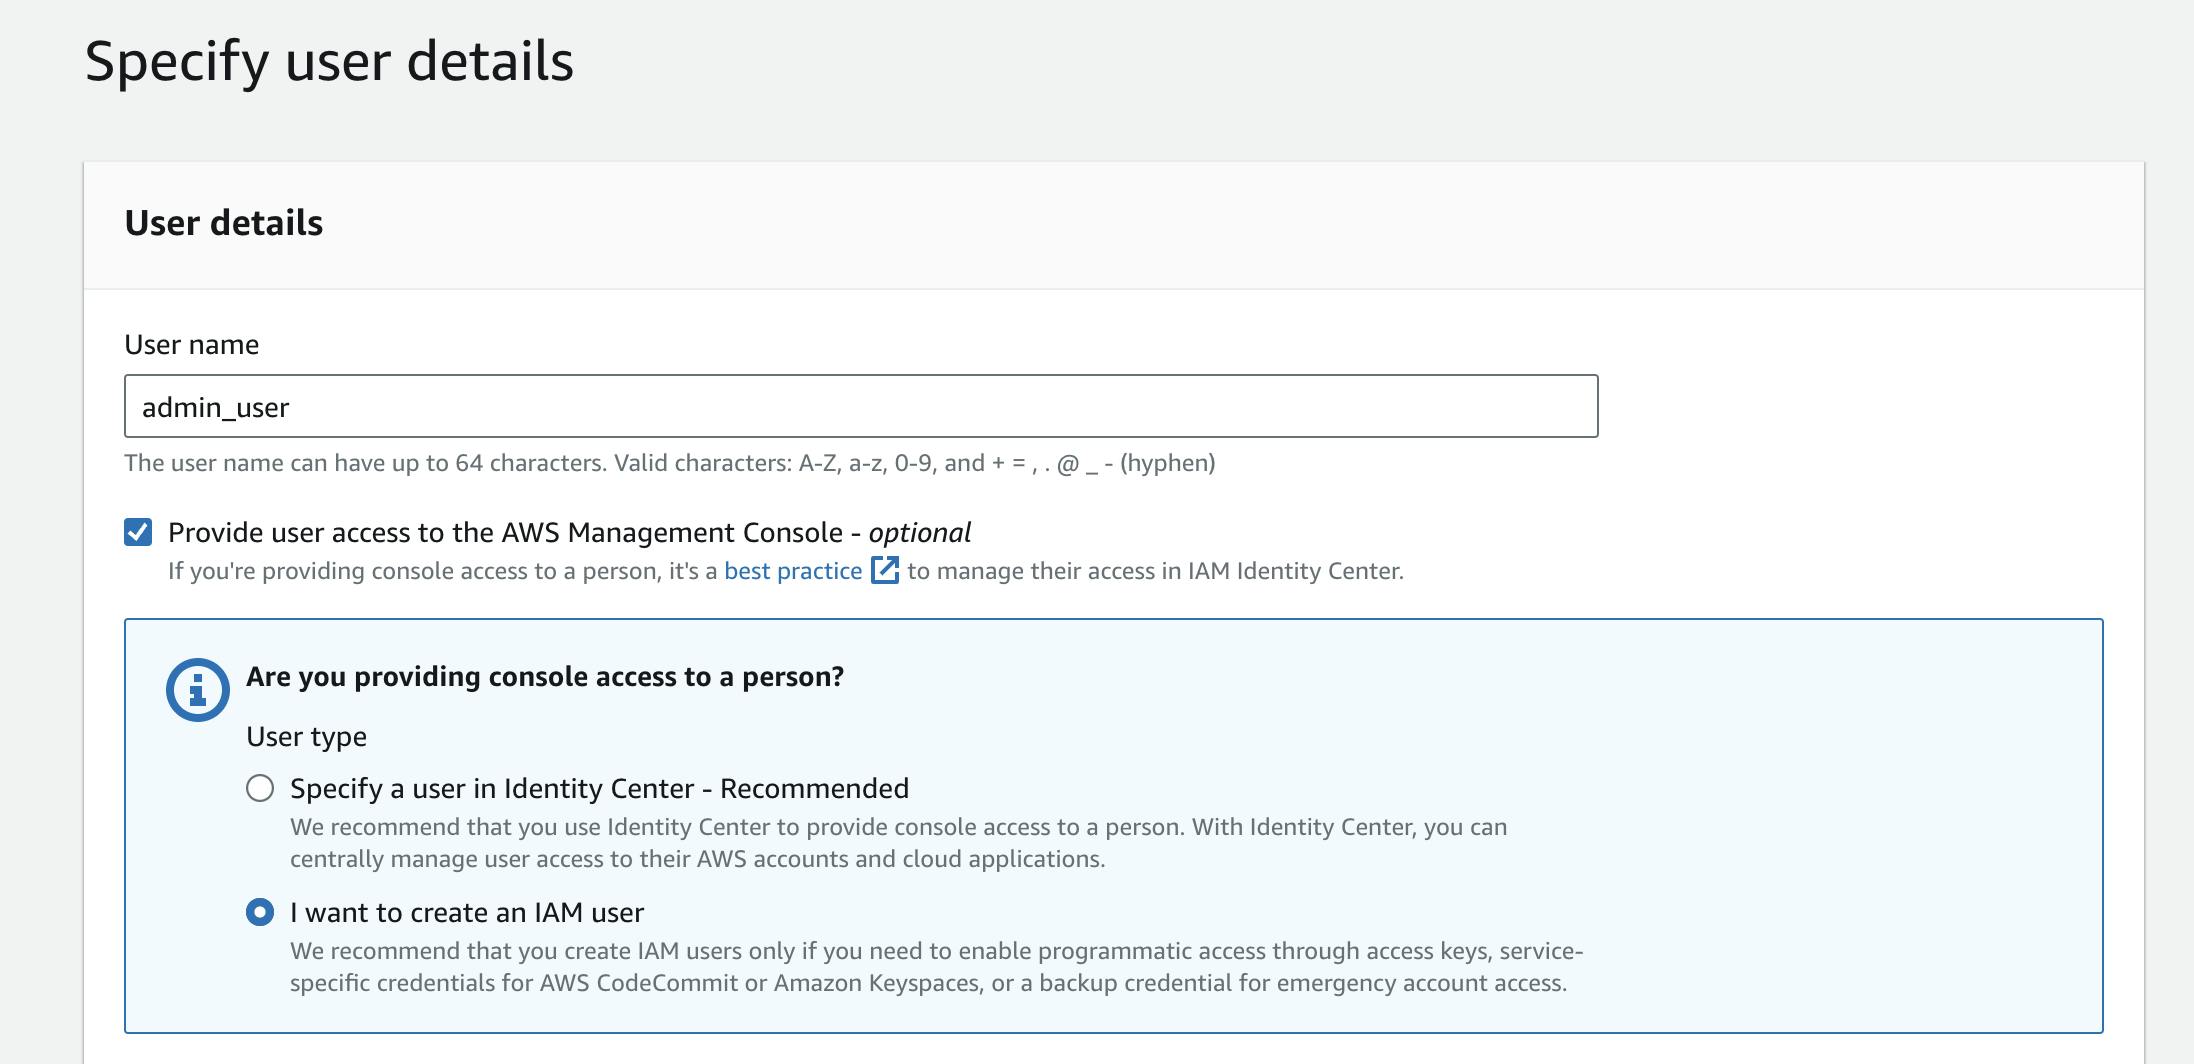
Type the name of the user and check the box next to "Provide user access to the AWS Management Console." For this example, choose "I want to create an IAM user" under user type.
You can specify a custom password for the user or use an autogenerated password. Following best practices, check the box next to "Users must create a new password at next sign-in." Click "Next" on the bottom right.

Add the user to the "administrator" group you created. Click "Next" on the bottom right.

Here you can review the configurations for the user and add optional tags. Note the AWS managed "IAMUserChangePassword" policy that was automatically attached to the user when you chose to have the user create a new password at next sign-in. Click "Create user" on the bottom right.

If needed, you can email sign-in instructions to the user. You are given only one opportunity to download the password.

To view the password, click on "Show" under Console password. You can click on "Download .csv file" to save the password to your computer.

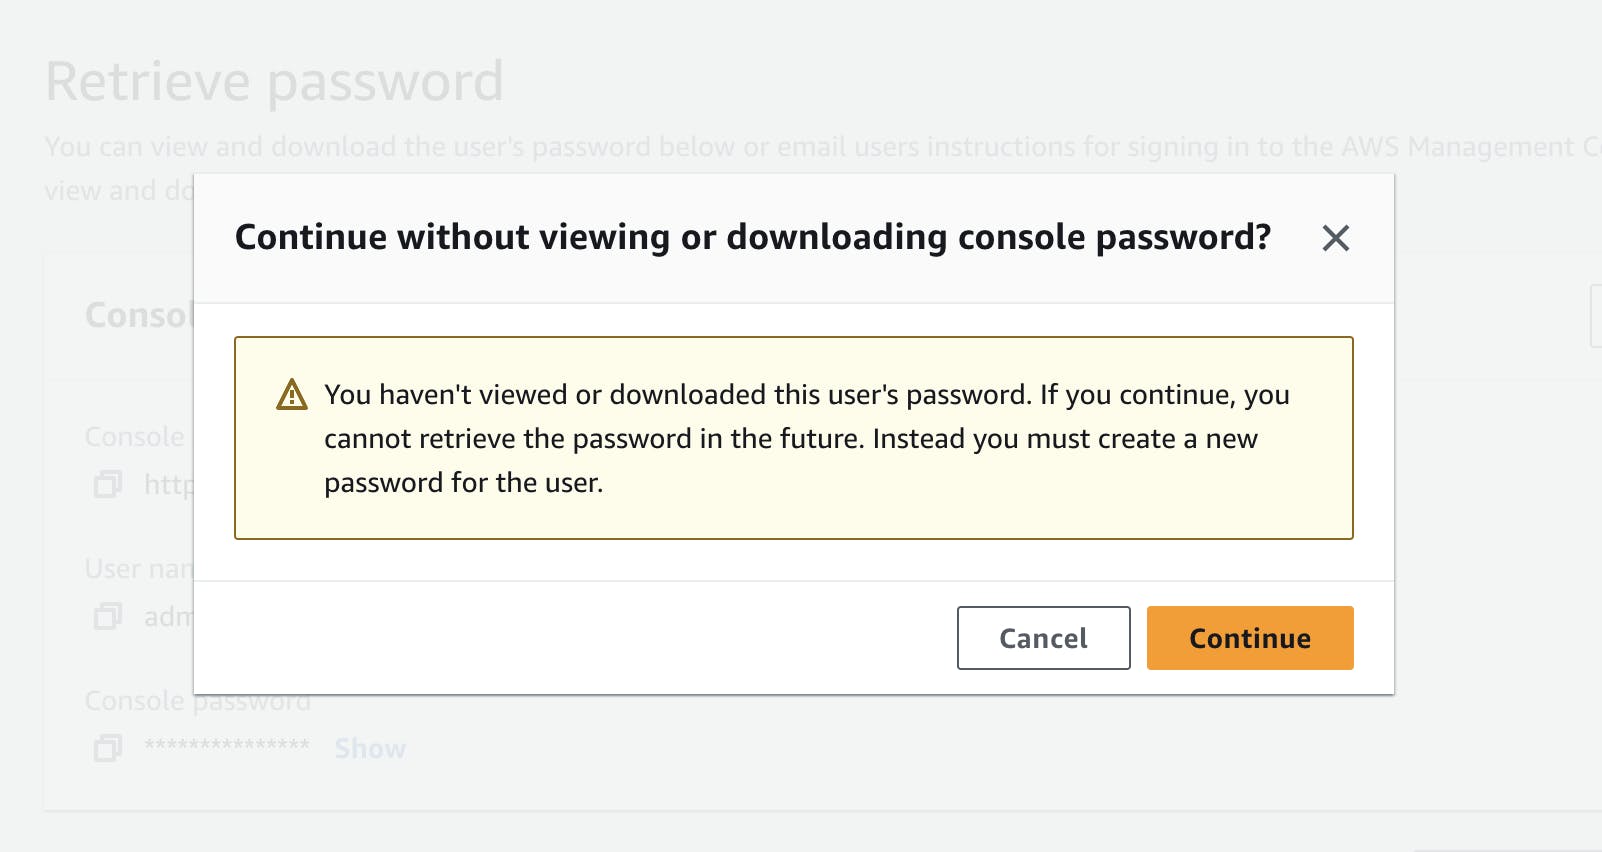
If you click "Return to users list" without viewing or downloading the password, you will get the following message to confirm your choice:
Congrats! Your user has been created.
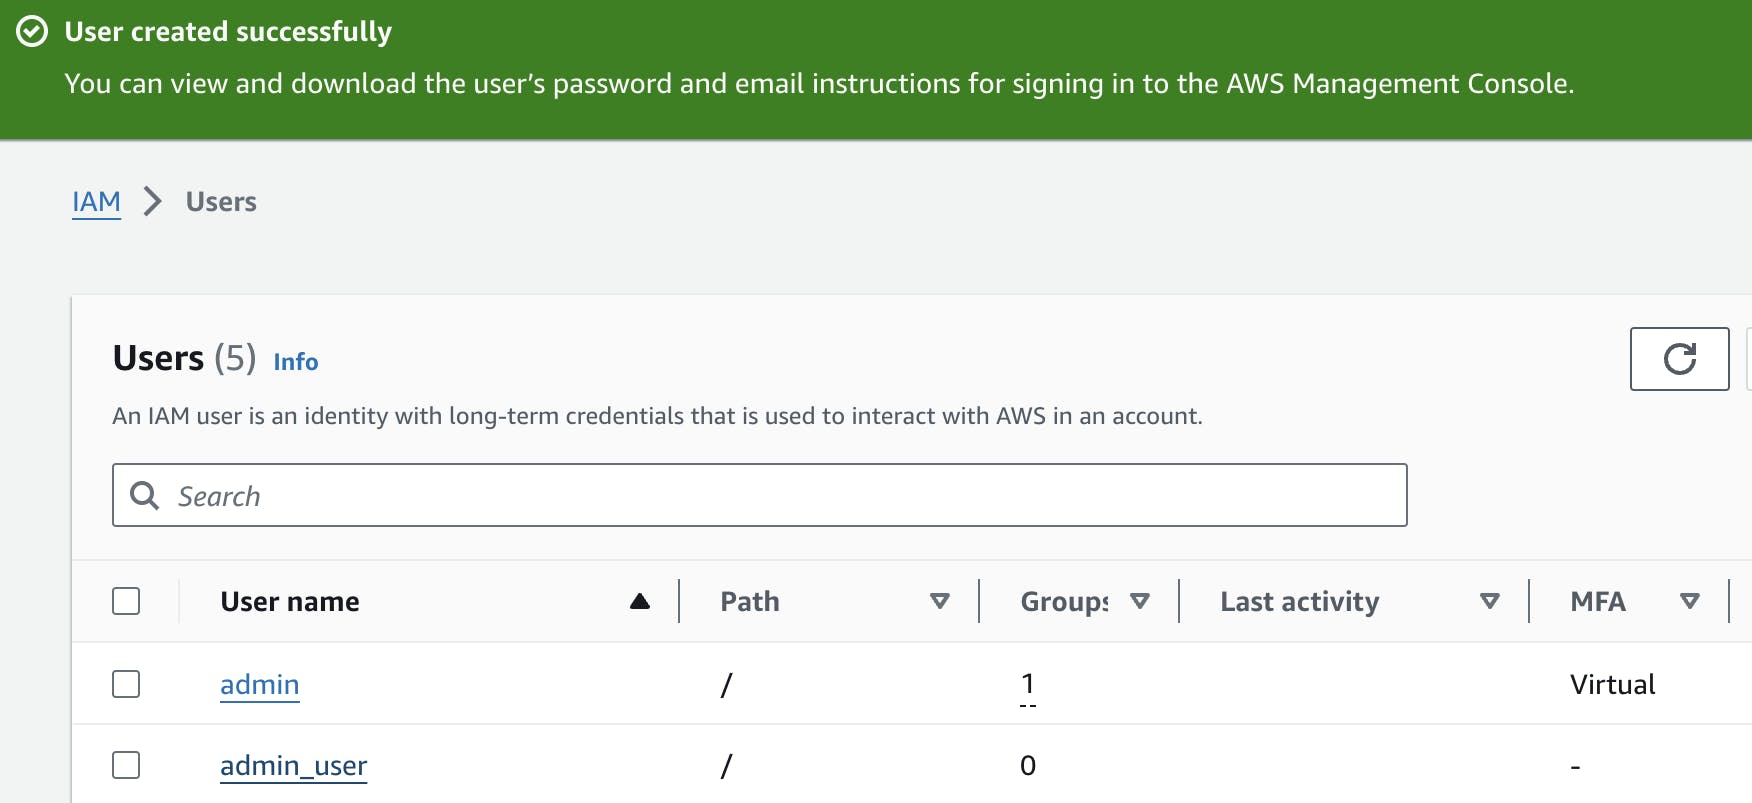
Now you can click on the user name and view a summary of information about the user. Under the "Permissions" tab, you can see the Permissions policies attached to the user. You can see that the "AdministratorAccess" policy has been applied to the user because the user is part of the "administrator" group.

Enable MFA and create access keys:
Click on "Security Credentials" under the Summary section. Under security credentials you will first see the console sign-in link. Scrolling down, you will see the options to assign an MFA device and create access keys. You can follow the steps in the console to set up both MFA and access keys for programmatic access.

Create an IAM role:
Head to "Roles" under "Access management" in the navigation bar on the left. Next, click "Create role" on the top right.

You can create a sample cross-account role if you have a second AWS account or know someone else with an AWS account. If not, follow along to see an example.
First, select "AWS account" as the trusted entity. For a cross-account role, you are trusting entities in other AWS accounts.

Then, type in the account ID of the other AWS account. Following AWS recommendations, it is best to require external ID and MFA for third parties.

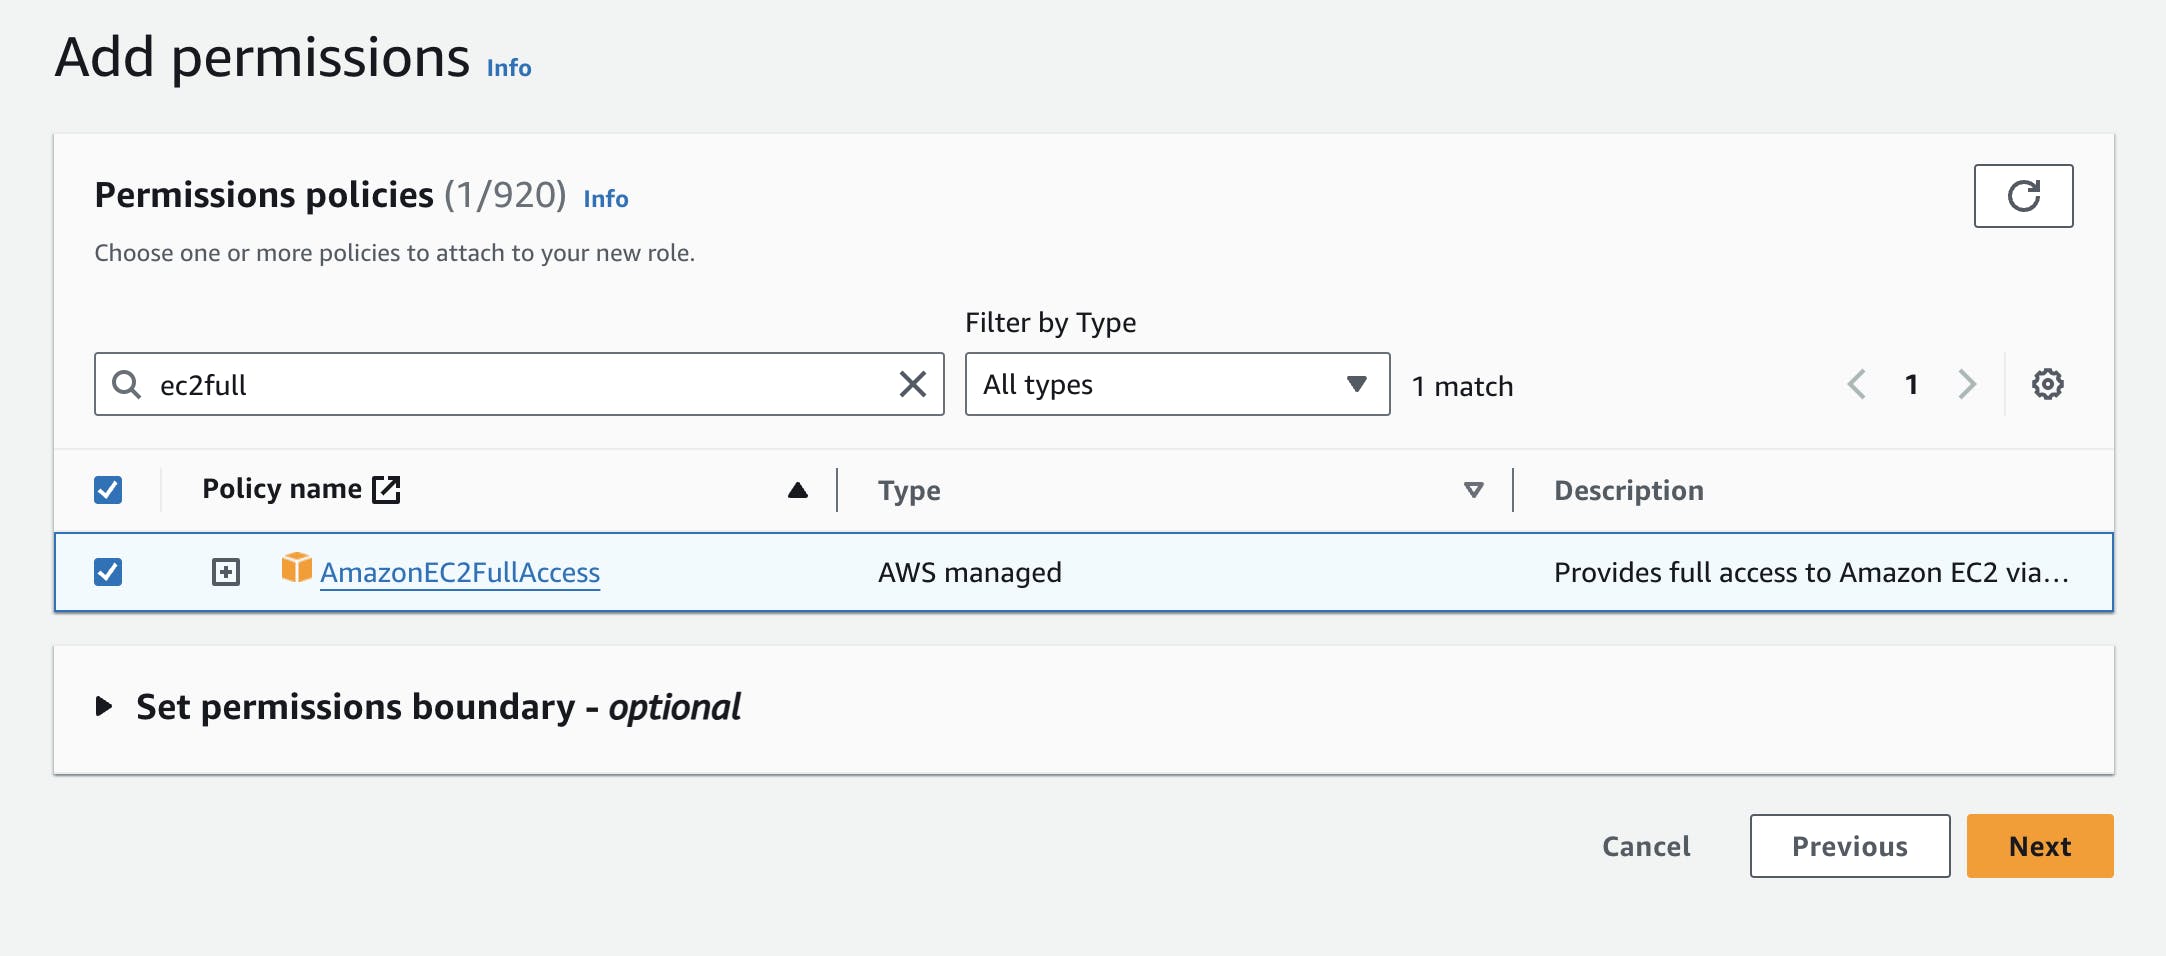
For this simple example, you can add a policy allowing full access to Amazon EC2. In reality, you would use granular access control based on the specific actions the entity will need to perform (least privilege principle). After checking the box next to the policy, click "Next" on the bottom right.
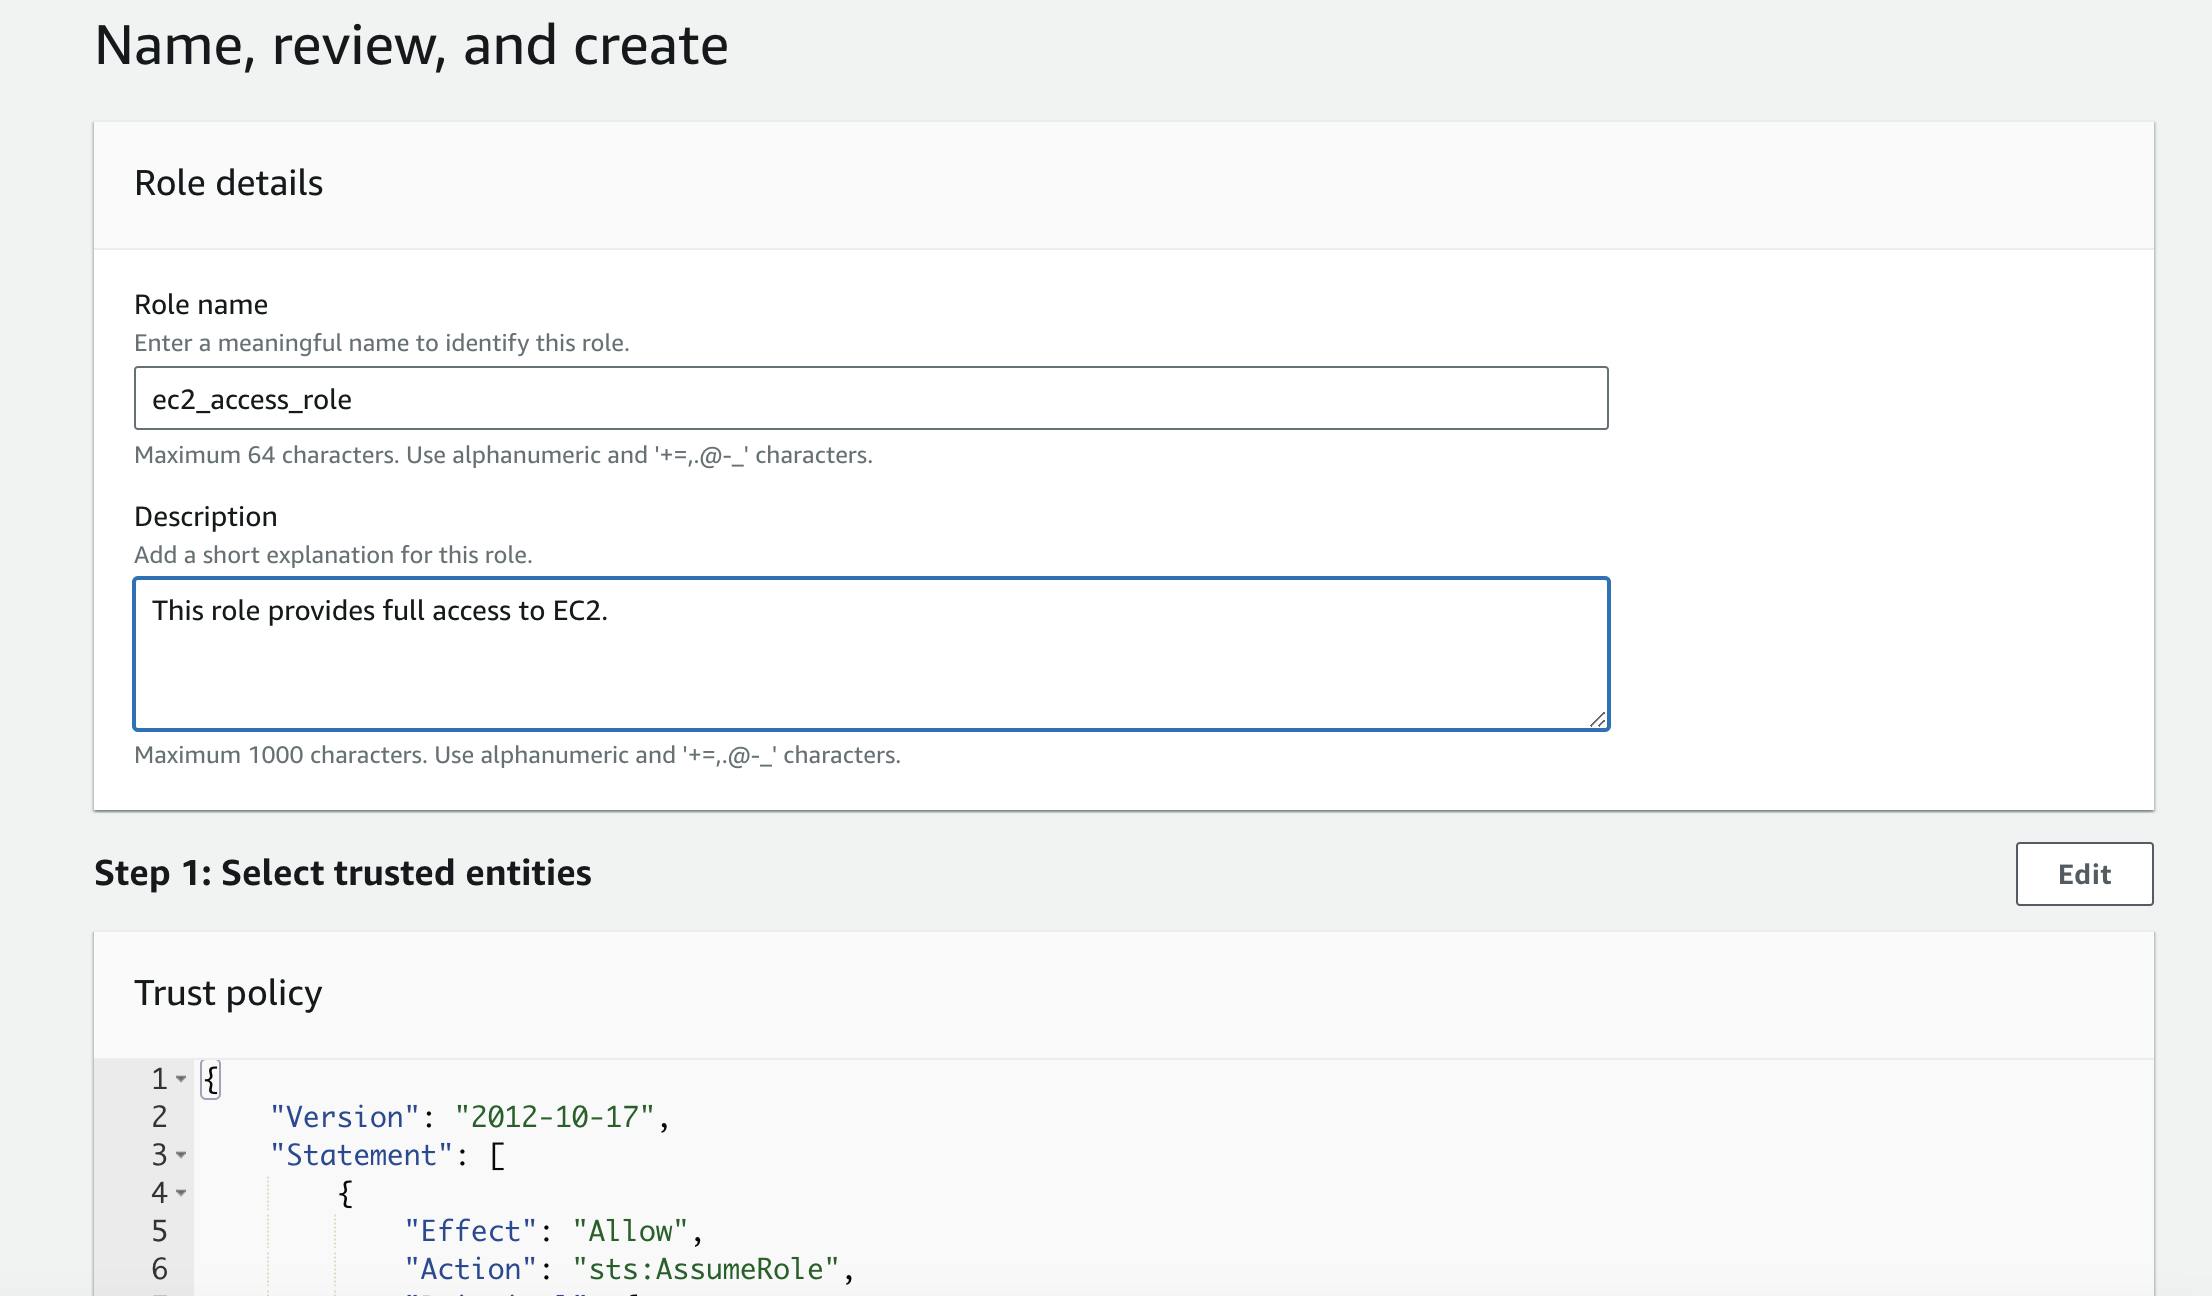
Create a name for the role and add a description. For Step 1, you will see the trust policy and the trusted account ID will be in the policy.
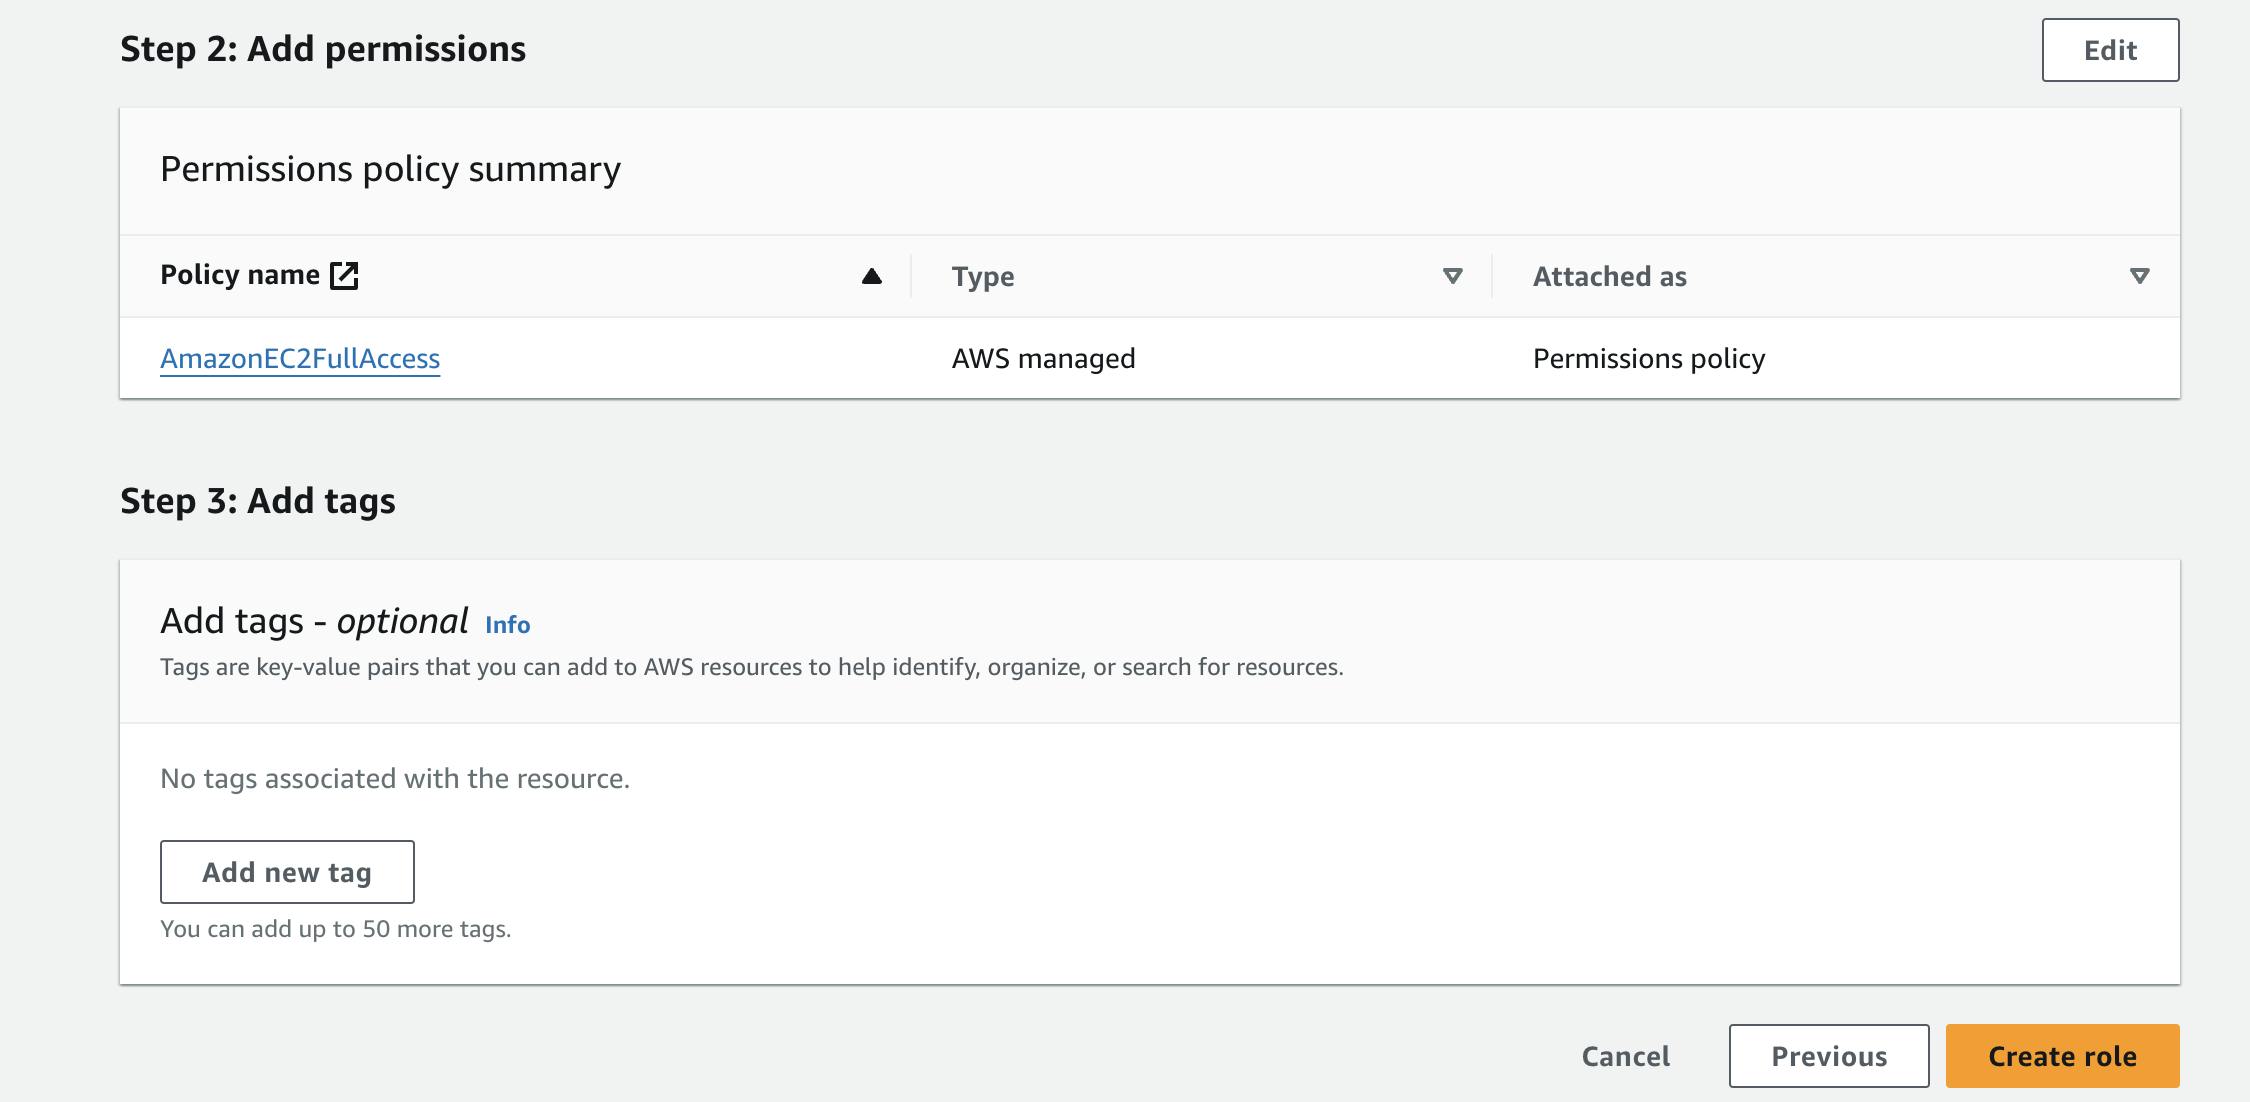
Steps 2 and 3 allow you to see the selected permissions policies and optionally add tags to the role. Click "Create role" on the bottom right.
Congrats! Your IAM role is ready to use. If you click on the role, you will see its summary, the link that can be used to assume the role, and the maximum session duration. If you click "Edit" at the top right of the summary section, you will be able to edit the role description and the maximum session duration. It is set to 1 hour by default, but you can change it based on your needs.

Underneath the summary, you can also click on the various tabs to view the permissions policies, trust relationships, tags, etc.

Congratulations! 🙌
As we conclude this exploration of AWS IAM, you now possess not just knowledge but mastery of best practices. Now you are empowered to design, implement, and navigate IAM and continue exploring its many functionalities. Take more time to dive into the extra features of IAM and play around in the console. May your IAM journey be secure, efficient, and filled with the boundless possibilities AWS offers!